What you will find here: Intended to display minor modifications to my Westfield SEi, this blog now witnesses the two year rebuild (and more) after a major crash in October 2011. Have fun and feel free to add a comment at the end of any post.
Best viewed with Firefox

Pages

Saturday, October 13, 2012

Fuel lines

Ever fancied those plush red and blue fuel line unions? Me too! Together with braided steel hoses, they look good and give that little race car bling. But they are of high quality as well and you can manufacture them DIY. Here is how:
Cut the line with dedicated pincers, then put the screwcap into the Koul tool (more of this at the end of this post).
Now twist the braided hose into the screwcap until it shows just below the thread.
Put some lube on the thread and tape the spanner to protect the nice blue anodisation.
The finished line. Note the aluminium chuck jaws to prevent from dents. Pump connected.
Fuel tank 90° union and fuel return line aside the breather.
This is the aforementioned Koul tool. When cutting the braided steel hose, the sharp little wires are difficult to fit into the screwcaps. This tool helps a lot and keeps your fingers safe. The shown set contains inserts for D04, D06 and D08 dash size. Be sure to buy the right diameter hose along with the matching screwcaps.
Cheers.

Thursday, October 11, 2012

Surface finish

It's quite difficult to get a finish on new panels without making them look new on an old car. After 240 and 1200 sandpaper, I gave it a rub with grey scotchbrite. Although the result is matt, this process leaves some of the handling traces.
The (new) workshop watch should tell me when it is enough, shouldn't it?
Cheers.

Tuesday, October 9, 2012

Bulkhead

Cut and drilled a panel this evening to replace the bulkhead. The original panel had been riveted, but this one is bolted and can be removed to access the rear side of the dashboard. Recently I found quite a nice lid while recycling some stuff at work. I cut out where the steering column goes and adapted it to the bulkhead. This will be a nice and dry place for electrics with a rubber seal going all around it's bottom.
The lid is made of aluminium and I still have to find a solution to fix it to the panel underneath. The sign says: "This cover screw to be released before transporting by air" ... nice touch.
Cheers.

Aluminium cycle wings

Although this is only a project, I had the opportunity to buy some tools last weekend. There are different ways to DIY aluminium cycle wings and youtube gives quite a few hints, both amateur and professional. Some enthusiasts give their knowledge and publish it on dedicated sites like locostbuilders. That's where I found this tutorial (.pdf 412kB). My approach will be a mix of what I saw doing people here and there, but be patient, a lot of other things have to be done first.


Bead roller and 3 roller bending machine now in my workshop.
English wheel, maybe one of my next acquisitions, depends on success (or not) of the DIY route to aluminium cycle wings (and on budget of course).
Cheers.

Thursday, October 4, 2012

Bonnet line

Test fit of nose + bonnet + scuttle. The bonnet fits flush front and rear.
The bulkhead will be bolted to the scuttle via rivnuts. This allows to unmount it and have good access to the rear of the dashboard if needed. But I first had to fabricate an aluminium angle which is now fixed to the panel underneath the steering column. 
Cheers.

Wednesday, October 3, 2012

Have a brake

Brake system is ready to be filled!
Both seats fixed but attachments for the shoulder straps are too near to the headrests. Some more mod!
My (patient) wife "caught" me straighten up the tools ... never enough tools. I need more tools!
Cheers.

Sunday, September 30, 2012

Fix to flex

And here the finished connection from the fixed brake line to the flexible line. This is the driver's side (LHD), some more bending has to be done around the steering column.
Cheers.

Thursday, September 27, 2012

Flexible

Finally some work done in the new workshop. New flexible brake line shown here with full steering lock, still some excess length to evitate stress on the unions.
Where the unions will meet inside the engine compartment, shown here is the old female union.
 
My first (selfmade) double-flare to connect the fixed line with the flexible line, new union is M10x1.
Cheers.

Monday, September 17, 2012

Braided steel brake lines

Moving delayed work on my car and I still haven't finished the brake system. The braided steel lines for the front calipers are too short when mounting the wide track kit. On the other hand, those included in the kit are way too long (measured with full suspension drop and steering stop). Although I prefer local workshops, I didn't find one which could manufacture braided lines. Order dropped at Probrake in Germany who have a well made online configurator and competitive prices. Specs are as follows:
Length (includes fittings) = 43cm
Fittings in above pic from left to right
- caliper side: M10x1 thread length 15mm, convex
- body-panel feed-through: M10x1 thread length 22mm, convex
Choice can be made out of the following list
Cheers.

Friday, September 14, 2012

Relaunch ... soon!

It takes longer than expected to move everything from one place to another. Tools & parts ...
... and a narrow partition with some other material, parts and tools.
Hopefully, the move will be finished this weekend and relaunch of assembly can start next week.
Cheers.

Tuesday, September 11, 2012

Winter workshop

Being a co-tenant of rented space, it was obvious that one day I would have to move on. Lucky enough I had this opportunity to start work, but now it's time to move on to a smaller workshop to finish the car.
Not a steep one, but I was happy to have my son with me to push it up the hill to it's new home.
Less space but quite enough for the remaining work. It was a big moment to see her on four wheels again.
Cheers.

Wednesday, August 22, 2012

Union Jack Joiner

Joining the old panel with the new one with some help from Jack.
Washers and screws underneath the car to fix the passenger's seat.
I'm off for holidays now until mid September.
Cheers.

Monday, August 20, 2012

Aluminium washer

The seats are screwed to the rather thin aluminium floor panel. To spread the stress, I made some large aluminium washers. The edge is chamfered to make them slide over possible obstacles on the road, the center is countersunk to make an even surface with the M8 countersunk screw.
Cheers.

Sunday, August 19, 2012

Exhaust

With Bosal mounting cement to seal and six self made brass nuts with larger pans to fix, the manifold should be ready for some hard use. The small pipe with the lambda sensor is mounted for experimental matters with the Emerald ECU. If the results are conclusive, it will be replaced by a stainless steel item.
Complete exhaust line with silencer, the hole for the manifold outlet fits quite snug.
Cheers.

Saturday, August 18, 2012

Front suspension complete

The wide track front suspension is now complete. I also mounted the cycle wing brackets and the left wheel to see how everything fits.
Wide track & 2.4 quick rack gives quite an impressive steering angle.
Fixing the seats with large washers meant I had to fabricate some out of aluminium to save weight. They will be finished on the lathe to accept countersunk bolts. But the drill has gone ... got hot, smelled funny, smoke came out ...
Cheers.

Thursday, August 16, 2012

Wheel #2

The inner side panels on the driver's side are in. There is a cut-out in the footwell to leave more space for the clutch foot. The hole is where the lambda sensor cable comes in.
The left rear fender completes the bodywork at the back end (except for the boot cover). Some little things to do like the number plate and it's light. The exhaust bracket must be screwed in before the inner sidepanels are fitted because the screws that hold it are hidden between the inner and outer panels.
Cheers.

Monday, August 13, 2012

Gearbox oil

Prior to mount the side panel, it is wise to do some jobs ... like fill up the gearbox. It is still possible with the bodywork in place, but now it is less complicated or should I say, less gynaecological ;-) The plug can be unscrewed with a 10mm Allen key or with the 4-pan of a 3/8" ratchet.
The oil comes in a canister with a long nozzle. This helps to reach the filling hole without spilling too much.
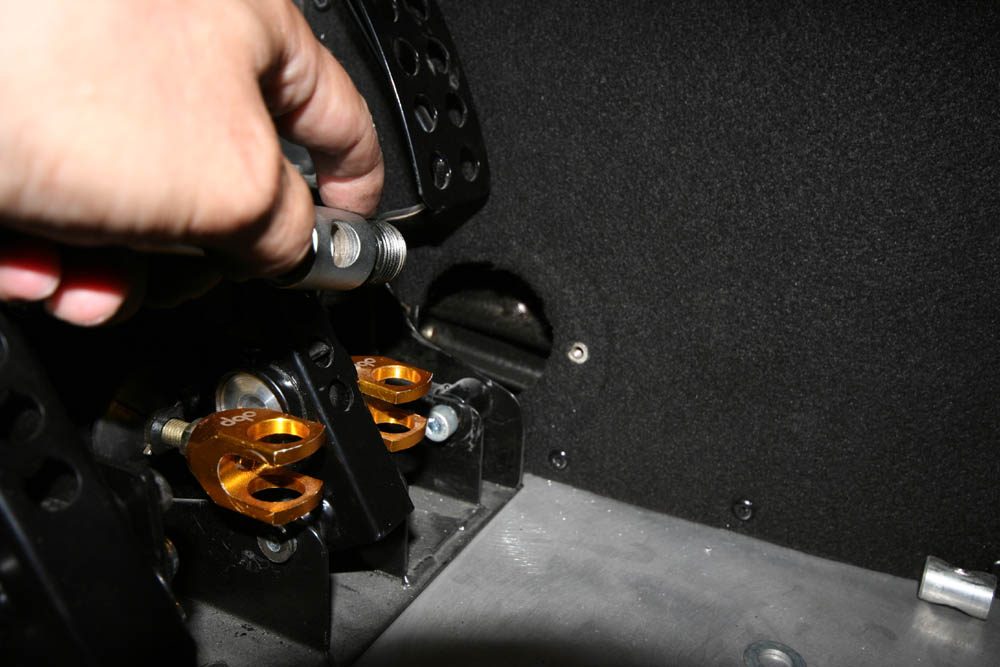
With the gearbox oil at level, the pedals' install can be finished. This is the retaining spring from the original clutch pedal ... nanana, didn't throw it away, precious thing!
Cheers.