What you will find here: Intended to display minor modifications to my Westfield SEi, this blog now witnesses the two year rebuild (and more) after a major crash in October 2011. Have fun and feel free to add a comment at the end of any post.
Best viewed with Firefox

Pages

Showing posts with label Emerald. Show all posts

Monday, May 19, 2014

Temp sensor - error solved

Still learning ...
Last time I fiddled with the ECU, I was very satisfied with the settings I found. My disappointment was even greater when the engine didn't start last Saturday. Although the engine was cold, the fan ran immediately. I connected the tablet only to read 80°C coolant temp. Out came the multimeter to check the sensor, but it was ok. What else could it be? *scratching head* ...
The Emerald ECU has some features to prevent engine damage. One is to monitor the coolant sensor and switch the fan on regardless of a short or a loose connector. Therefore you can set the above/below thresholds in the coolant sensor calibration menu. A loose connector gives 5.0V, a short will give 0.0V, the settings should then cover everything in between -30°C and +120°C (see graph). My settings were a touch too optimistic with 0.9 and 3.9. The default settings from Emerald are as above, but you still can enter user defined values.
With the adapted values, the error disappeared and the car started. Happy again!
Cheers.

Saturday, May 3, 2014

Map switch & Lambda gauge

This little electronics project became bigger than planned, so here is the result: technical layout of gauge, map switch and its display LEDs, plus the housing cut to length.
Followed by assembly and function test for lean and rich...
...and normal on map 1 and map 2...
...and map 3 and rear view.
And a shot from in between.
Next: install it in the car!
Cheers.

Wednesday, April 23, 2014

Map switch

The map switch will be composed of a 2pole 3position rotary switch and a triple LED status display. I am tempted to put it together with the lambda gauge into a bespoke enclosure. My mechanical skills will decide whether I do so or not.
Cheers.

Monday, April 14, 2014

Lambda practical (epilogue)

With the Emerald rolling road being too far away, I had to learn about mapping and read the manuals, surf the web and ask lots of questions. Especially Karl from Emerald was very helpful and his quick replies prevented me from depression more than once. Mapping an engine on the road is not ideal and I think I only exploit maybe 10% of what the software is able to do. But I'm quite happy with the outcome and will keep the map from last week as a base map for further tweaking. It may be smart to use the map switch for further "upgrades". You can upload up to three different maps and add a rotary switch to choose between them. Above pic shows the needed switch and software configuration.
The plan is to have
- one map to drive around peacefully and do a lot of mpg (l/km)
- one map for fast fun on the road
- one map for MoT
... and find a suitable place for that rotary switch on the dash.
Cheers.

Thursday, April 10, 2014

Lambda practical (8)

Sunny weather and some days off meant I had time to spend on more mapping. I was happy with the mpg during the last run, but had some issues when accelerating from lower RPM. A dedicated additional map allows to add fuel during acceleration. Since the whole injection map was a little low, I also trimmed it as shown in above pic (keys 2 and/or 3 to add or retrieve fuel, then hit enter) and added some fuel. I'm quite satisfied with the result and will keep this map for the upcoming blats.
Cheers.

Saturday, April 5, 2014

Lambda practical (7)

Lousy weather ... still.
The MTX-L lambda controller with integrated gauge now works and is connected to the Emerald ECU. I searched the web for an alternative gauge, but no find. But I found a circuit to build one, so out I went to buy the parts. Compared with the original circuit, I only left out the two supplementary diodes on top. I replaced the individual diodes with arrays to simplify. Now I have to find a suitable enclosure and a place to mount it somewhere in my car.
Cheers.

Wednesday, April 2, 2014

Lambda practical (6)

Still waiting for the weekend to come, I surf the web and learn how to map. Some people recommend to extend the number of speed sites to get a more accurate and continious control. A right-click on the column cell allows to enter a different value. You have to do this for the whole range i.e. add as much columns as you want to until you reach the system limit. Now comes the great feature: you have to do it only once and all the other tables are updated. The values are interpolated automatically.
In above example I altered the table from 500RPM to 250RPM steps.
Cheers.

Saturday, March 29, 2014

Lambda practical (5)

Good weather, cabling all done, timing checked ... here we go !
The AFR target map, as the name suggests, is needed to define which level is expected relative to load (throttle position) and engine speed (RPM). The control mode is set by selecting the cells, the + and - keys are needed to switch between open/closed loop and adaptive. Save this map on your desktop and then transfer it to the ECU.
Requirements to be met are set in the closed loop dialogue. While driving, the live adjustments screen displays all the data on one screen. You see in which mode the ECU operates and can compare the AFR target with the real AFR actually measured by the lambda sensor.
A short drive proved that the ECU now controls the injection timing relative to the AFR target. Next time I want to check whether the fuel consumption is better now.
Cheers.
Saturday, March 22, 2014

Lambda practical (4)

As Karl from Emerald predicted, the settings were all over the place ... for whatever reason. To exclude one possible troublemaker, I inserted a 100 Ohm resistor in line with the lambda signal from the Innovate controller. The Hella timing light didn't work anymore, after a quick jump to one of my favourite tool providers I came back with this Gunson Xenon Timing Light. Works!
Then I started to reconfigure all the settings. Some of them are easily made, others have to be calculated, like the distance in degrees between crank position sensor, missing tooth and 0° timing mark.
This value is then entered into the 'crank sensor options' menu. Once the engine was running with the correct data, I checked the timing with the timing light. The 80° setting gave 0° on tickover.
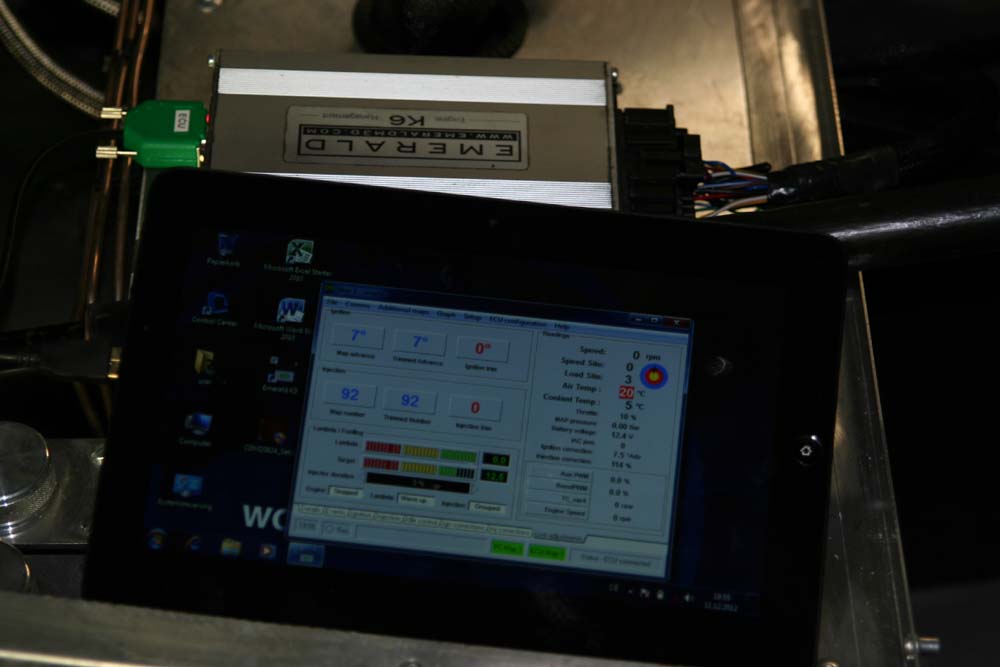
To do the settings, I use a Terra Windows tablet with a Keysonic keyboard. This gives me the flexibility to display the live readings when I drive around combined with a keyboard to enter data comfortably. One of the disadvantages of the Emerald is that values have to be altered in different ways (arrows, keys or directly through a keyboard). This makes a keyboard almost essential. The 9pin connector now feeds data to the tablet through an angled metal housing.
Lambda reading works, but I have to wait for better weather to drive around and do some more settings.
Cheers.

Wednesday, March 19, 2014

Lambda practical (3)

More preparation for the weekend to come with this pin out chart and links to the manuals.
(please refer to the official site for the most recent manuals and software)
The following are manuals I downloaded to my private webspace in March 2013 for personal use:
Emerald manual
Emerald manual trigger wheel install & config.(page 43)
Emerald configuration guide
Emerald loom color chart
Innovate MTX-L lambda controller
Note that only those connections have been highlighted that I use in my car.
I also decided to add that 100 Ohm resistor inline with the lambda controller signal.
Cheers.

Sunday, March 16, 2014

Lambda practical (2)

This weekend was planned to connect the lambda sensor and configure the ECU to operate in closed loop modus. While setting everything up, something went wrong ... don't ask me what. Out of the blue, the fan came on and the live reading displayed an engine water temp of 120°C! ... the engine wasn't running. Was it my fault? I don't even know. The engine will not start even with an older map. Mail has been sent to Karl at Emerald and I hope he can help. I'm a little depressed.
Cheers.

Sunday, March 9, 2014

Lambda - practical (1)

After some theory about lambda, there was this very sunny early March day (yesterday) and the urge to take that car for a long drive out. Although the settings have not been finished yet, I just had to drive! The car works fine and the injection system gives the engine more grunt and drivability. Unfortunately, the consumption is very high (around 14 liter/km). Time to connect that lambda sensor!
Since older cars didn't have a lambda sensor, I had to add a bung somewhere in the exhaust system to screw the sensor in. When there is no lambda sensor, the hole can be closed with an appropriate screw.
Routing of cables always is an issue in a small car, but after some fiddling, I managed to place that big connector near the fusebox and made the cable disappear under the dashboard. A quick check with the provisionally connected gauge showed that the engine is running quite rich (around lambda 11). This explains the high fuel consumption. Next: connect the lambda sensor controller to the ECU.
Cheers.

Wednesday, January 29, 2014

Lambda (λ)

Lambda (λ) , 11th letter of the greek alphabet, symbol for many more than one thing… but here we are interested in what is said about exhaust gases, or more precisely the air-fuel ratio. In a few words I will try to explain why it is important to have a certain amount of air mixed with a certain amount of fuel to get it all burned in an engine. If this is the case, exactly enough air is provided to completely burn all of the fuel, then the ratio is known as stoichiometric. Although I tried to have a lot of information in one picture, some explanations may be usefull.
Related to an automobile engine, we can use an oxygen sensor, more commonly known as lambda sensor to measure how much oxygen is left in the exhaust gases. If we return this data to the engine management system, the ECU can adjust the quantity of injected fuel.
The use of the engine determines what is done with that data.
Starting from the middle, this means that 14.7 parts of air will burn together with 1.0 part of fuel. This means lambda = 1 (λ=1). More air means a leaner mixture, less air (or more fuel) means a richer mixture. So next time you’re sitting together with those petrolheads talking about their engine running a little bit too rich or lean, you at least know what they are talking about!
There are advantages to run an engine lean or rich, but extreme values for too much time may damage the engine. Management systems can be run to take in account lambda values more or less. You decide wether you want the best power or the best fuel economy or a compromise of both.

Modern systems use a large band oxygen sensor. They have to be connected to a controller to have a usable signal for the ECU. The pic shows how it is connected to an Emerald ECU only for example. Other ECUs and controllers may have different pin-outs. The showed pin (35) can be configured internally to be used with a lambda sensor.
Cheers.

Tuesday, December 11, 2012

ECU alive

After more than a year without current, it was time to check the ECU. The newly acquired Windows7 tablet has the Emerald software installed, the driver for the serial-to-USB converter has been updated. The connection worked first try, although I couldn't check everything without a running engine. But one thing I know for sure now, the temp sensor showed only 5°C in the workshop and that's bloody cold!
Cheers.

Monday, October 29, 2012

Emerald

Basically what it is about the Emerald is to connect everything you need for ignition and injection to a small computer. The wiring diagram above is for a distributorless ignition system. The manual for the whole system is available here. At first sight, it might look complicated, but you have to look at it part by part. As I progress with the wiring, I will try to explain the different components and what they are for.
Cheers.

Monday, March 19, 2012

Water cooling circuit

As assembly progresses (well, sort of), some theory worse to be spread about the plumbing. Let's start with the water cooling circuit. Starting with a layout lent in a german forum, I adapted it to what will be found in my car once completed (ex the water temperature gauge which will be integrated into the digital Stack dash). Quite a basic setup without a heater, hence the missing pipes and valves. Note the two separate temperature sensors, one for the stack gauge and one for the Emerald ECU. There are two ways to switch the fan once a set temperature has been reached:
1) via the temperature switch (mechanical / bi-metal) in the thermostat housing, fixed value
or
2) via the ECU where the switching temperature can be set as wished.
Cheers.

Monday, January 23, 2012

Flying loom

After my credit card has recovered from excessive shopping, I went to see what Emerald does. They changed their website and it is of a more modern design now. Content is more accessible and I especially like Dave Walker's workshop area. When surfing the shop, it was good to see that they finally offer variable length intake trumpets. Dave did a lot of experiments with those and published articles based not only on theoretical knowledge, but also delivered plots and graphs he made with a dummy motor on the bench. Great work! I also found a flying loom with according ECU connector and that will simplify life a lot when re-engineering the loom is scheduled. Mandatory wires are pre-installed, the other wires come prepared with the pins already soldered/crimped. At 70.-£ it's not a luxury item (as others I have to admit) regarding the hours spent on cabling.
Tonight I will finish grinding and the first coat of primer. I checked for the result the day after painting 2/3 from the front and the result is very good.
Cheers.

Monday, September 12, 2011

Literature

Impossible to do some more road tests with the new ignition system due to bad weather... Fortunately, some interesting books lay around. Two I present here, consider them as bibles.
Cheers.

Wednesday, September 7, 2011

Decals update

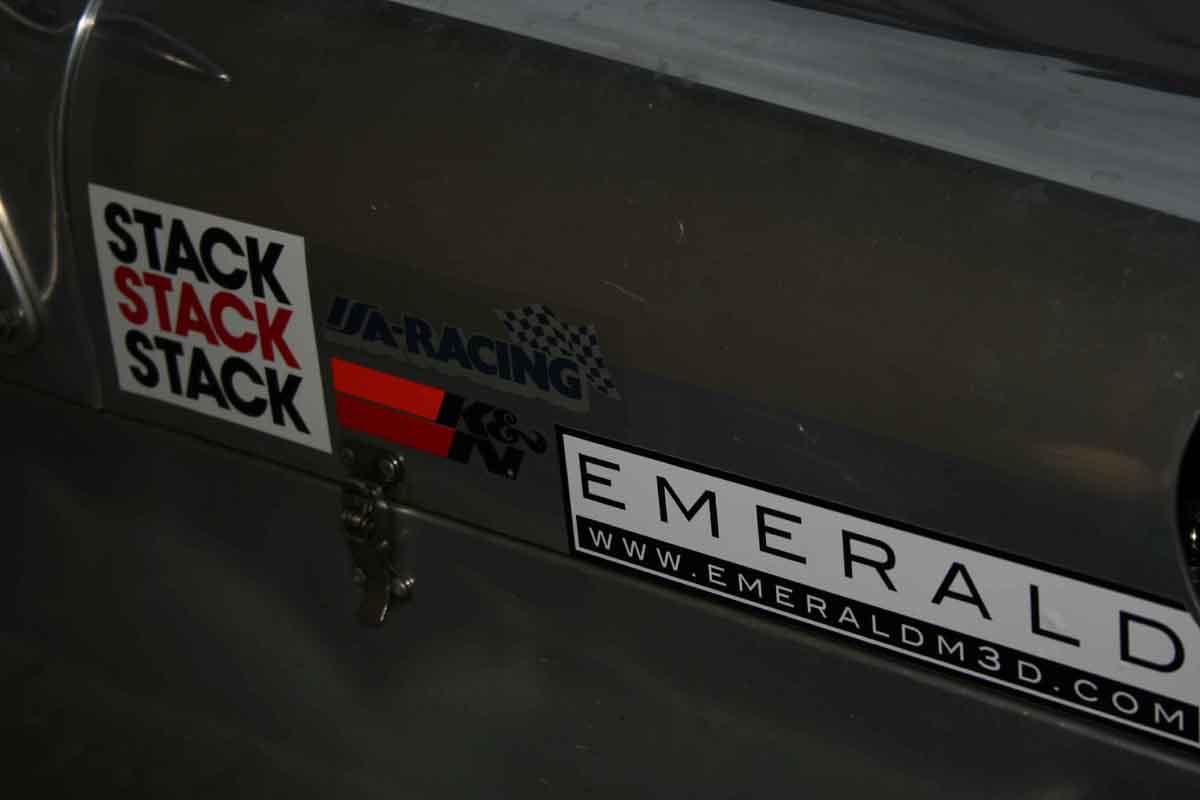
Proud display of some of the installed equipment...
A special mention for Emerald: great product, great staff. Have a look!


Emerald ECU running

Even with lots of preparation, some little mistakes when connecting the new Emerald ECU made that it didn't run as of first start. Some calls and emails later it ran. As mentioned elsewhere, only the ignition part, injection will be enabled later this year. The staff at Emerald is great and very helpful. The final test on the road revealed a fine running car with the same performance as with the quite aggressive Megajolt map. Further mapping will be done later.
The pic also shows the new fuse box. Fan and fuel pump are now controlled with the Emerald ECU. Concerning the fan, temperatures for on and off can be set individually. The pump runs for a few seconds, then stops until the engine is cranked. Two relays remain unsused for the moment. One will switch the high pressure fuel pump, the other one will connect the injectors and maybe also the coilpack.
The pic of the new fuse box with its cover in place is quite a clean appearance, especially compared to the old  fuse box .
Cheers.