What you will find here: Intended to display minor modifications to my Westfield SEi, this blog now witnesses the two year rebuild (and more) after a major crash in October 2011. Have fun and feel free to add a comment at the end of any post.
Best viewed with Firefox

Pages

Monday, April 30, 2012

Best radius found

After two trial bends, I found the best compromise between the jig radius and the flip back response of the aluminium panel (8cm). Therefore, I reduced the radius of the jig in two steps.
Quick and dirty trial fit just to get it in my mind that it's feasable.
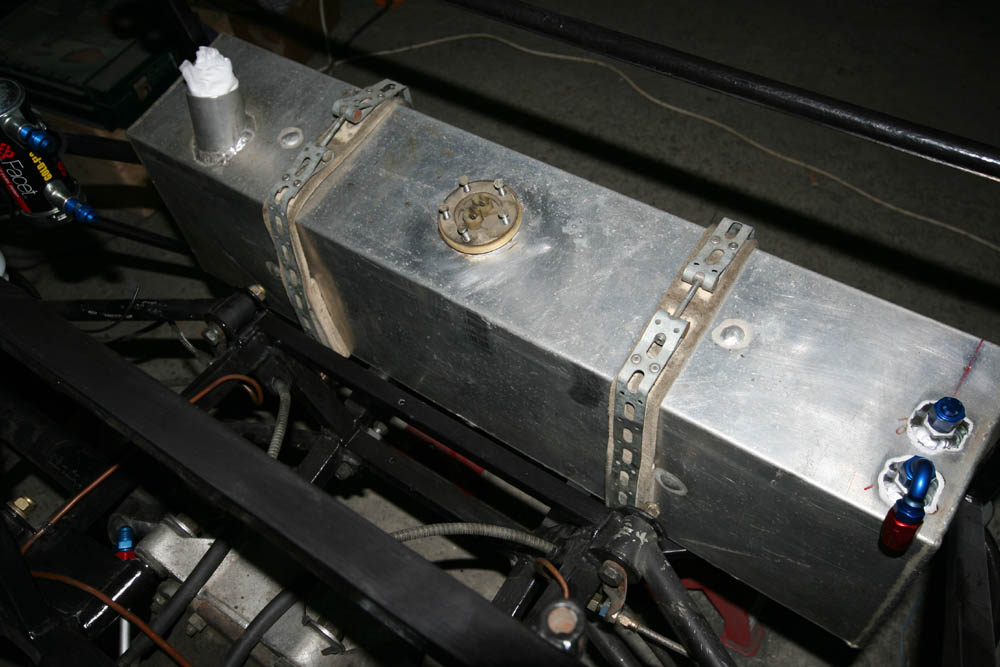
Inside view near the filler.
Next time I will bend the opposite corner and then decide wether I will keep this panel or bend a new one. With two millimeters it's a little thicker (and heavier) than the original panel. And with all the trials and handling, there are some minor dents in it. So maybe the final version will be 1 or 1,5mm and hopefully with less scratches.
And an easy one to finish the day with some plumbing work. This is the high pressure pre pump filter which fits between the surge tank and the high pressure fuel pump.
Cheers.

Saturday, April 28, 2012

Wooden jig

The bet was that if I wanted to mount the Monza fuel filler, I had to change the rear body panel as well. I could leave it where it is, but with two fuel fillers (one functional and one kept in place only to evitate having a hole in the panel), looks would have been spoiled. The aluminium panel (2mm thick) must be bent left and right. To have a chance to realize a somewhat decent bend, I manufactured a wooden jig.
 
The jig was then fixed on top of the panel. This is version one, the radius has been changed since to achieve the right bend ...
... but the principle of work is the same. While reducing the radius more and more and everytime checking the fit on the car, I hope to achieve the best possible fit. This is all new stuff to me and it is a lot of fun to find out how to proceed. If I fail, I can always revert to the original undamaged panel. Of course, I hope that I will be able to finish my very first selfmade body-panel.
Cheers.

Monday, April 23, 2012

The way to Monza

Nothing compares to professional craftsmanship. Shown here with a hose made to my specs to connect the differential housing with the breather. In this case, it is a recycled brake fluid reservoir.
Remember those posh brake fluid reservoirs from CNC? Now they are coupled with the brake master cylinders. Again with bespoke hose made to my specs from the same shop.
This filler is called "Monza". I like it's classic looks. As described earlier, I hope to be able to add it to my car. Tonight I welded a handmade bracket to the chassis and mounted it for trial just above the tank. Difficult to deduce how it will look in the end, but I'm confident that it will add even more classic touch.
Cheers.

Sunday, April 22, 2012

Fuel lines, tank, LP pump

Finally a good way to fix the two fuel lines and a satisfactory routing. A job easier done when the car is dismantled, but still a lot of work.
Routing near the differential housing, this connector will be connected to the low pressure fuel pump via a low pressure filter.
Up front, the fuel lines arrive near the bulkhead opening.
- Left: fuel return line
- Right: fuel supply going to the surge fuel tank and then to the high pressure fuel pump (via a HP filter)
LP fuel pump and differential breather mounted.
Fuel tank in place again, filler cut, cap on vent connector and bent connector to receive the fuel return line.
Monza fuel filler cap ... very beautiful. For the moment I have two options: stay with the original filler which means kneeling behind the car at the petrol station or mount this posh filler and fill the tank like a homo sapiens. The latter means some more mods and a new body panel for the back. I may try the second option with still in mind that I can switch back to the original design if I fail.
Cheers.

Wednesday, April 18, 2012

Fuel tank (almost) ready

Back from the welder. The fuel lines will be made out of 8mm aluminium tubing. The goal is to find the best routing for both lines avoiding too much bends and ending in a suitable position for the connections. As for the filler, I'm currently looking for the best way to fit a classic Monza type filler instead of the aero-style originally fitted. The latter is a real pain in the @ss.
Fuel outlet now features a JIC connector instead of a simple hose type and will be connected with a flexible line to the aluminium tube.
The same JIC connectors for the fuel return line and additionally for a vent if it should show that one is needed. If not, a cap will close the connector. Ventilation through the filler should be ok but the possibility of an additional vent is given. Easier to plan it now than to put the tank out again later.
Cheers.

Sunday, April 15, 2012

Rear brake pipe

The original brake line going to the rear drums was a little bit too short, so it had to be redone. After a few hours of bending, from underneath and above the car, adding the connectors ... here we go.
Alongside the gearbox and then it disappears around the clutch, connected to the brake master cylinder. Brake pipe bending is not my forte and some of the bends have to be revisited.
Quite a frustrating result after three and a half hours of labour ... I had to mount those posh brake fluid reservoirs to make me happy again.
Cheers.

Thursday, April 12, 2012

Fuel tank preparation

Today we prepared the fuel tank for some mods. I want this to be done by a professional welder to avoid any risks. On top, two JIC fittings will be added, one for the fuel return line once converted to injection. The second is foreseen to install an optional vent if needed.
Underneath, the fuel outlet will be modified to connect via the same JIC fitting type.
Almost all the piping will be realized with this type of connectors (on the left for welding, on the right the hose type).
Cheers.

Wednesday, April 11, 2012

Upper steering column & quick release


Quick release system LOCKED !
Quick release system UNLOCKED !
Quick release system RELEASED !
The lever is springloaded, the hex connector is welded to the steering column.
Prior to mount, the hex connector welded to the steering column and the upper bearing with two half bearing shelves. The connecting rod to join the hex part with the steering shaft was turned on a lathe and the bearing surface is now integrated.
The lower bearing made out of brass on the lathe.
Different bolt circles on steering wheel and quick release hub ask for an intermediate adaptor plate to bolt the steering wheel to the hub. Turned out of aluminium. 
The steering system is almost completely new and bespoke for my car. The selected heavy duty steel for the column parts and the newly designed bearings are a safe construction. The added quick release system might appear superfluous, but is a very useful goodie adding some more race feeling.
Cheers.

Saturday, April 7, 2012

Lower steering column

Lower steering column, shortened, welded, painted. Looks like bought.
It's a tight fit along the chassis rail, but there's enough room for the column to spin freely.
The upper coupling is quite near the exhaust manifold, but a less cramped fit than previously when I had to shave a little off of the coupling and shorten the bolt to it's minimum. Next will be the quick release hub for the steering wheel at the other end of the column.
Cheers.

Thursday, April 5, 2012

Steering column parts

With the exhaust manifold in place, the steering column can now be designed. The upper part is lengthened just enough to pass the manifold. I welded a new shaft onto the existing part with a 36 spline end to bolt to the coupling.
The lower part of the steering column joining the rack has to be shortened accordingly. Above pic shows from top to bottom
- the amount of length added compared to before
- the lower part of the column to be welded with a coupling at both ends
- the closure that will cover the weld and then will be welded additionally to further strengthen it.
One more goodie, although I've not yet decided wether I will mount it or not, this is a quick release system for the steering wheel. Two possible advantages of a removable steering wheel are ease of access (especially in a small car) and theft protection ... well, for the latter, the thief will have to bring his own.
Cheers.

Tuesday, April 3, 2012

Water cooler

The (new) Caterham water cooler is very lightweight. It is mounted through vibration dampers to the chassis. The old water cooler was damaged beyond repair during the crash.
The Samco piping can be reused which makes for some money saving.
The Pacet fan was broken as well and has been replaced by exactly the same item purchased together with the water cooler. Luckily I kept the wrecked fan and now reused the clips to fix it to the cooler (no clips provided). The overflow will be connected when the bulkhead is ready to receive the expansion tank.
Cheers.

Monday, April 2, 2012

Pedalbox completed

Hours and hours spent, the last change adopted was to alter the pivot center of the clutch pedal. Things went fine with sheet supports bolted to the pedalbox chassis...
... and some more sheet welded to the lower lever of the clutch pedal to fix the clutch cable. The foot rest is adjusted to its lowest point. The final adjustment of all three pedals will be done later (clutch and accelerator when the engine is running, brake pedal when the piping has been completed).
Cheers.
Jos

Sunday, April 1, 2012

Scale models (will be updated)

What kids buy their father ... especially if his limited mind only turns around cars of a special kind:
- Kyosho Caterham Super Seven (cycle fender) #08222SC (scale 1:18)
- Kyosho Caterham Super Seven JPE #08225C
Little souvenirs from our trip to Dartford December 2011 (scale 1:64):
- Matchbox 2011 #03/75 CATERHAM R500 SUPERLIGHT (available in yellow and red)
Streetsale in Faversham May 2012 (scale 1:64):
- Matchbox 2011 #111/120 CATERHAM R500 SUPERLIGHT (black, yellow stripes, silver cycle wings)
June 2012, toys shop, Luxembourg
- Kyosho 1:43 CATERHAM SUPER SEVEN JPE (Silver Carbon) No. 03156C

More to come ...
Cheers.