What you will find here: Intended to display minor modifications to my Westfield SEi, this blog now witnesses the two year rebuild (and more) after a major crash in October 2011. Have fun and feel free to add a comment at the end of any post.
Best viewed with Firefox

Pages

Wednesday, August 22, 2012

Union Jack Joiner

Joining the old panel with the new one with some help from Jack.
Washers and screws underneath the car to fix the passenger's seat.
I'm off for holidays now until mid September.
Cheers.

Monday, August 20, 2012

Aluminium washer

The seats are screwed to the rather thin aluminium floor panel. To spread the stress, I made some large aluminium washers. The edge is chamfered to make them slide over possible obstacles on the road, the center is countersunk to make an even surface with the M8 countersunk screw.
Cheers.

Sunday, August 19, 2012

Exhaust

With Bosal mounting cement to seal and six self made brass nuts with larger pans to fix, the manifold should be ready for some hard use. The small pipe with the lambda sensor is mounted for experimental matters with the Emerald ECU. If the results are conclusive, it will be replaced by a stainless steel item.
Complete exhaust line with silencer, the hole for the manifold outlet fits quite snug.
Cheers.

Saturday, August 18, 2012

Front suspension complete

The wide track front suspension is now complete. I also mounted the cycle wing brackets and the left wheel to see how everything fits.
Wide track & 2.4 quick rack gives quite an impressive steering angle.
Fixing the seats with large washers meant I had to fabricate some out of aluminium to save weight. They will be finished on the lathe to accept countersunk bolts. But the drill has gone ... got hot, smelled funny, smoke came out ...
Cheers.

Thursday, August 16, 2012

Wheel #2

The inner side panels on the driver's side are in. There is a cut-out in the footwell to leave more space for the clutch foot. The hole is where the lambda sensor cable comes in.
The left rear fender completes the bodywork at the back end (except for the boot cover). Some little things to do like the number plate and it's light. The exhaust bracket must be screwed in before the inner sidepanels are fitted because the screws that hold it are hidden between the inner and outer panels.
Cheers.

Monday, August 13, 2012

Gearbox oil

Prior to mount the side panel, it is wise to do some jobs ... like fill up the gearbox. It is still possible with the bodywork in place, but now it is less complicated or should I say, less gynaecological ;-) The plug can be unscrewed with a 10mm Allen key or with the 4-pan of a 3/8" ratchet.
The oil comes in a canister with a long nozzle. This helps to reach the filling hole without spilling too much.
With the gearbox oil at level, the pedals' install can be finished. This is the retaining spring from the original clutch pedal ... nanana, didn't throw it away, precious thing!
Cheers.

Sunday, August 12, 2012

Nosejob

Lots of little jobs to make the nose fit ... Remember! This is a Caterham nose designed to fit the Caterham S3. It's visible if you compare where the wishbones are mounted. On my car, the upper front wishbone fixing point is where I will put the indicator. The lower point remains unused and has to be adapted with an aluminium panel. But first of all, a bespoke bracket has to hold the nose cone.
To prevent the plastic from cracking, I used the old Dzus fasteners and riveted them to the nose cone. The bolts will now slide through the metal instead of the plastic.
After positioning the nose cone to it's definite position, I finished the day with the mounting of the seven emblem.
Cheers.

Monday, August 6, 2012

Bent down under

This is an important one. Just imagine working for eight hours on a panel and at the end you just have to make a bend that takes you ... five minutes. If you miss it, you can start all over again. This bend is important for the look of the car. Some do a right angle, but to my taste it is essential that it has a radius of about 25mm. Just like a broomstick! Well, that's what I took to bend the panel.
Then I had to have a look with the nose and bonnet on. Still a lot of adaptation required before everything fits, but all in all a good start.
Exhaust manifold exit ... fits!
Cheers.

Sunday, August 5, 2012

Tinsnips, file, chips

Starting from a 100x60cm panel, bent 90° top edge, manually predrilled the holes ...
... cut to fit the nose ...
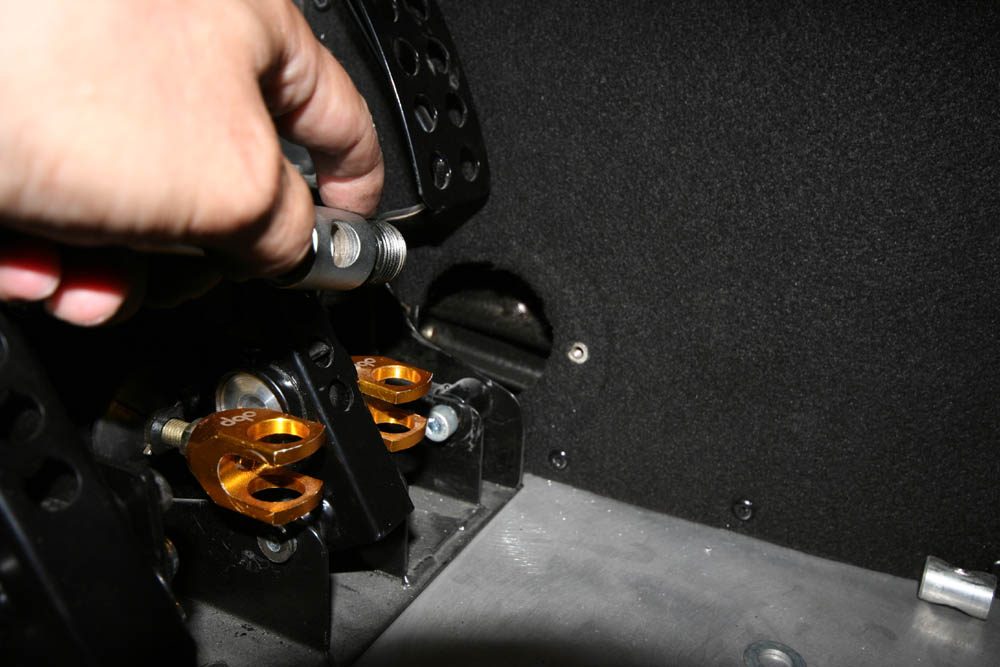
 ... handfiled all the openings to suit the steering, suspension and exhaust.
All this has been achieved with essential tooling like this tinsnips and file. Some of the many workshop words of advice are, go on slowly, measure twice cut once, make a pause, look at it again before you go on, compare with the damaged panel, compare with the mirror symmetric other side of the car, measure again ... and so on. The result is rewarding.
Cheers.

Thursday, August 2, 2012

Front panel

Although the pics may not speak too much, this is the start for the new front side panel. I drilled a small hole to locate the steering arm. From there I will mark the other openings for the suspension.
View of the vent from inside, this is where the hot air will flow to the outside. A bespoke panel will operate as a duct just behind the exhaust manifold (don't look at the brake lines, they will be exchanged!).
Some of the holes marked and ready to be cut.
Cheers.

Wednesday, August 1, 2012

Art shot

Quite some time spent since the rebuilt start, so I decided to make a pause tonight and tried to catch the workshop atmosphere.
Cheers.

Engineer's rule

When mounting the wide track suspension, the steering has to be lengthened to match. The factory adds steel extensions with a mere 15mm inner thread (right one in the pic). Aftermarket sellers like Rally Design opt for a different style with about the same amount of thread, but on the outer. The latter (left one) is made of aluminium. Both solutions don't suit me. I can't find any other type of extensions, so I may stick with those from the original kit. The engineer's rule says that a bolted connection is sure enough with 0.8x the diameter. With M14 this means 11,2mm of thread length, so I should be on the good side anyway.
Too much thinking?
Cheers.