What you will find here: Intended to display minor modifications to my Westfield SEi, this blog now witnesses the two year rebuild (and more) after a major crash in October 2011. Have fun and feel free to add a comment at the end of any post.
Best viewed with Firefox

Pages

Thursday, June 27, 2013

New pistons

Vulcan delivered exactly as said. Old versus new ...
They also have their very own exhaust gasket set. Looks tough compared to those from Burton.
Vulcan's recommendation to replace all four pistons because of a weight difference might have been a marketing thing, but it is wise to replace them all if you have stripped the engine this far.
Cheers.

Tuesday, June 25, 2013

Problem found

More dismantling and cleaning done tonight, I pulled the rings off piston #3 to discover two pieces that broke off the piston. My order placed at Vulcan should arrive tomorrow and comprises four pistons and some gaskets.
Tools ready for reassembly, ring pliers, honing device and ring compressor.
Cheers.

Wednesday, June 19, 2013

Bottom off

After the tests showed that something is wrong with the piston rings on cylinder #3, I started to dismantle the bottom of the engine.
Conrods are a Ford item, pistons are AE 18647 +0.090 for the Fiesta 1300. They are commonly used to raise compression. Bore on 1300cc and 1600cc engines is the same, this allows to use both kinds of pistons. Valve pockets are a little less than 3mm deep. The bearing shells look good and can be reused. During the next days I will check prices and ask for quotations. I also have to check what tools I need. My torque wrench goes only up tp 60Nm which is not enough f. ex. to fasten the cylinder head.  
Cheers.

Monday, June 17, 2013

Petrol leak test

The compressed air test was not very concluant. That's why I took off the head yesterday. Other tests can now be done like the petrol leakage test. It consists in pouring some petrol on the top of the pistons. A faulty ringset will not keep the petrol on top as long as the others. With the pistons at the same height and a stopwatch, you can see what happens and how fast.
Cylinder #3 leaked well ahead of the other three. The pic shows it dry when 2 and 4 were still wet.
The same test can be repeated with the cylinder head by filling the exhaust duct (valves slightly leaking, but not a lot)...
... and the inlet duct (valves completely dry).
A Caterham owner and X/flow expert will tell me what to do next. I guess it means dismantling the bottom end, as already written in an earlier post.
Cheers.

Sunday, June 16, 2013

Head off

Start of dismantling. Both manifolds off, water and oil drained, here we go. Piston tops look good, cylinder head gasket like new.
All parts and especially the valves look good. The probable reason being the piston rings, I will have to dismantle the bottom end as well.
Cheers.

Wednesday, June 12, 2013

Compression

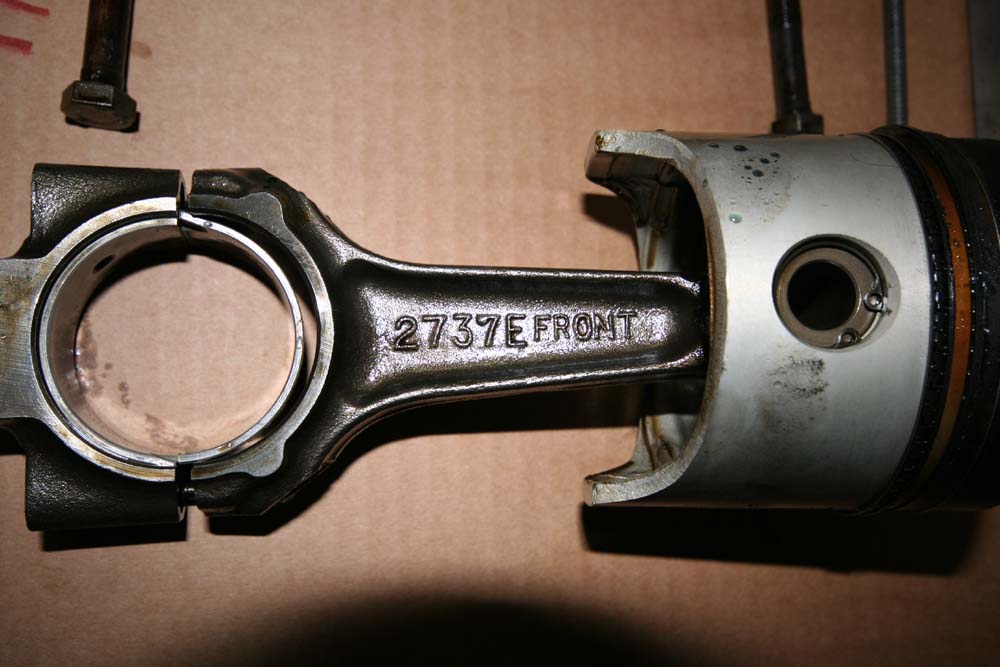
The smoke coming out of the oil catchtank tells that something is wrong with the engine. There is also some oil spit around the catchtank filter. Two possibilities: damaged piston rings or a faulty valve. One method to find out more precisely what goes wrong is to measure compression. An adaptor is fitted to the plug hole and the throttle blocked open. Unplugging the ECU prevents the pumps to run, ignition and injection don't operate. The engine must be warm, 10min. @ idle is enough.
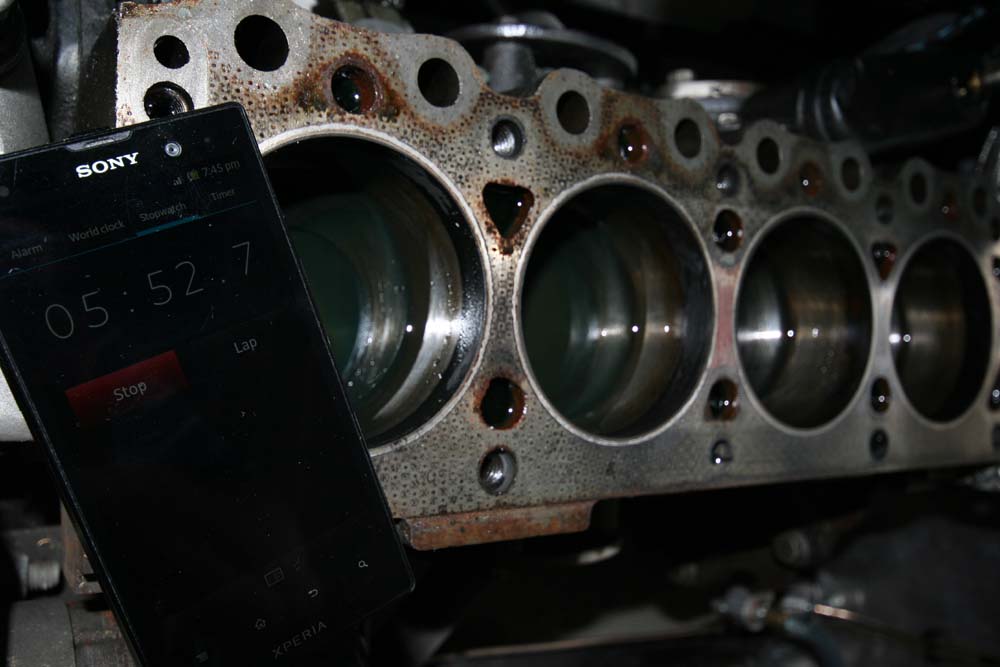
One cylinder is measured at a time while the others keep their spark plug to seal the engine at the top. With the gauge connected to the adaptor, the engine is cranked 5 to 10 seconds, the time the needle moves up until it doesn't rise anymore.
The results are as follows: cyl1 9.9bar; cyl2 10.0bar; cyl3 6.8bar; cyl4 10.1bar.
Cylinder three clearly does not have enough compression.
Second step is to fill some oil into cylinder three and repeat the test. If compression is higher, chances are that the piston rings are faulty. If not, it may be a damaged valve. Result: 7.5bar
Enough for tonight, I will further investigate and decide what to do the coming days.
Cheers.

Tuesday, June 11, 2013

Smoke

During the test drives for the suspension setup, more and more smoke escaped from the catchtank. Knowing it had no proper design, I built a bespoke tank with strainer baffles and retaining foam allowing the oily vapors to condensate.
Originally, this tank hadn't even a filter socket, so came out the 9/16 18 die to accomodate a D10 adaptor.
This allows to mount the filter removable or connect a hose if required. Two half inch connectors will receive the hoses from the crankshaft and rocker cover vent.
Hoses internally to the tank lead the oily smoke down to the baffles underneath the foam. In theory, the fumes should condensate and separate the oil from the smoke.
The fully assembled tank. On the rear side, a sight gauge shows the oil level. Excess oil can be drained through the small plug below.
Cheers.

Friday, June 7, 2013

Wheel setup

During my stay in England, I went to Rallydesign to buy some stuff. I brought two helpers back home. They helped me setting toe-in/out and camber. It took me a good hour but I'm pleased with the result. The surface has to be absolutely clean and even and you have to repeat it several times. Eventually I will let a professional check what I did.
After that I made a small blat on my (Belgian) evaluation road which is riddled with ruts and bumps and awfully deep potholes. It drove like a charm and I'm very satisfied with this first setup.
Cheers.

Tuesday, June 4, 2013

Bumpsteer - corrected

Not completely set, but very near. I made a mistake while assembling the steering by mounting the track rod ends upside down. This resulted in heavy bumpsteer which made the car almost uncontrollable on bumps and ruts.
The photos show the effect this error has on toe-in/toe-out varying from top to bottom position of the suspension during a full travel.
After I mounted the track rod ends correctly, the change in toe-in/out is not visible anymore.
I tried to film it as well. I think it is clearly visible in comparison:
Film #1 - Bumpsteer
Film #2 - Bumpsteer corrected
In this case the effect is very heavy. Lesser bumpsteer can be set with shims to alter the steering rack's height. After this I re-mounted the shocks with the 275lbs/in springs and set the ride height to 5". Next time I'll try to set camber and toe-in/out.
Cheers.