What you will find here: Intended to display minor modifications to my Westfield SEi, this blog now witnesses the two year rebuild (and more) after a major crash in October 2011. Have fun and feel free to add a comment at the end of any post.
Best viewed with Firefox

Pages

Monday, June 17, 2013

Petrol leak test

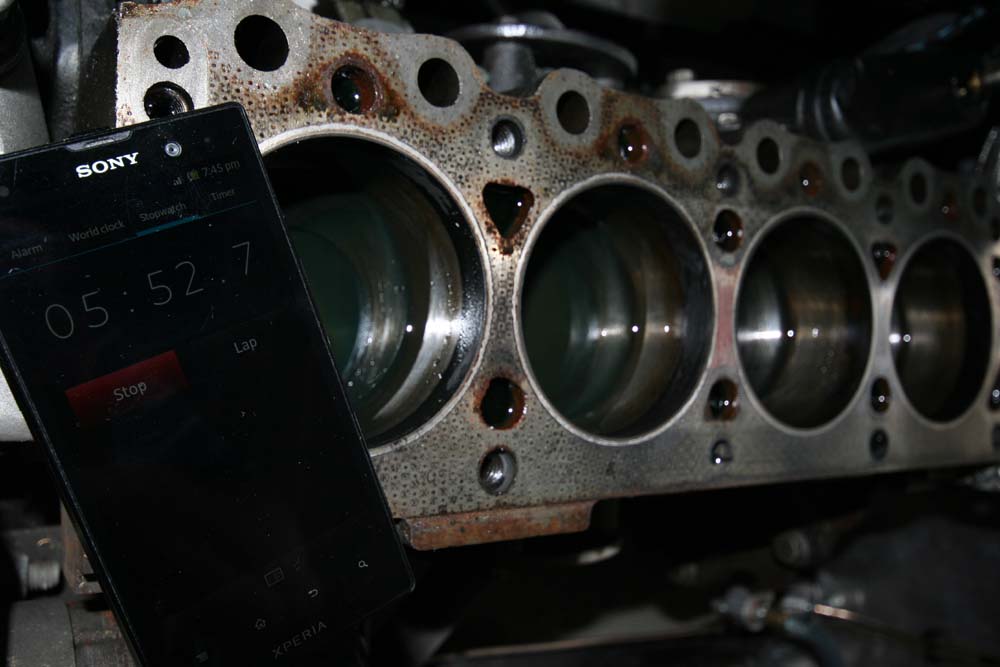
The compressed air test was not very concluant. That's why I took off the head yesterday. Other tests can now be done like the petrol leakage test. It consists in pouring some petrol on the top of the pistons. A faulty ringset will not keep the petrol on top as long as the others. With the pistons at the same height and a stopwatch, you can see what happens and how fast.
Cylinder #3 leaked well ahead of the other three. The pic shows it dry when 2 and 4 were still wet.
The same test can be repeated with the cylinder head by filling the exhaust duct (valves slightly leaking, but not a lot)...
... and the inlet duct (valves completely dry).
A Caterham owner and X/flow expert will tell me what to do next. I guess it means dismantling the bottom end, as already written in an earlier post.
Cheers.

Sunday, June 16, 2013

Head off

Start of dismantling. Both manifolds off, water and oil drained, here we go. Piston tops look good, cylinder head gasket like new.
All parts and especially the valves look good. The probable reason being the piston rings, I will have to dismantle the bottom end as well.
Cheers.

Wednesday, June 12, 2013

Compression

The smoke coming out of the oil catchtank tells that something is wrong with the engine. There is also some oil spit around the catchtank filter. Two possibilities: damaged piston rings or a faulty valve. One method to find out more precisely what goes wrong is to measure compression. An adaptor is fitted to the plug hole and the throttle blocked open. Unplugging the ECU prevents the pumps to run, ignition and injection don't operate. The engine must be warm, 10min. @ idle is enough.
One cylinder is measured at a time while the others keep their spark plug to seal the engine at the top. With the gauge connected to the adaptor, the engine is cranked 5 to 10 seconds, the time the needle moves up until it doesn't rise anymore.
The results are as follows: cyl1 9.9bar; cyl2 10.0bar; cyl3 6.8bar; cyl4 10.1bar.
Cylinder three clearly does not have enough compression.
Second step is to fill some oil into cylinder three and repeat the test. If compression is higher, chances are that the piston rings are faulty. If not, it may be a damaged valve. Result: 7.5bar
Enough for tonight, I will further investigate and decide what to do the coming days.
Cheers.

Tuesday, June 11, 2013

Smoke

During the test drives for the suspension setup, more and more smoke escaped from the catchtank. Knowing it had no proper design, I built a bespoke tank with strainer baffles and retaining foam allowing the oily vapors to condensate.
Originally, this tank hadn't even a filter socket, so came out the 9/16 18 die to accomodate a D10 adaptor.
This allows to mount the filter removable or connect a hose if required. Two half inch connectors will receive the hoses from the crankshaft and rocker cover vent.
Hoses internally to the tank lead the oily smoke down to the baffles underneath the foam. In theory, the fumes should condensate and separate the oil from the smoke.
The fully assembled tank. On the rear side, a sight gauge shows the oil level. Excess oil can be drained through the small plug below.
Cheers.

Friday, June 7, 2013

Wheel setup

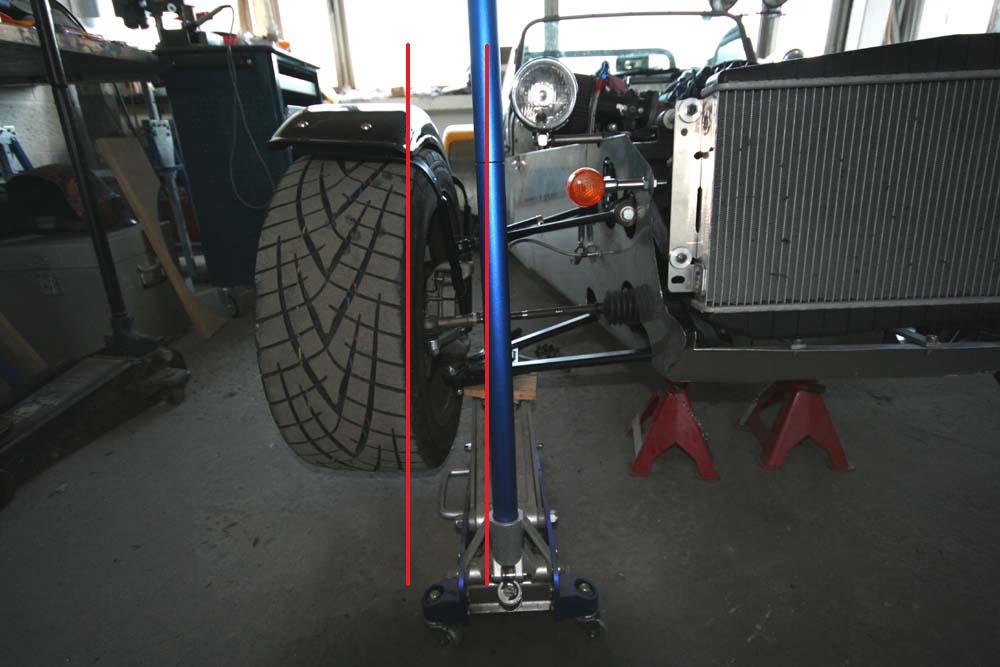
During my stay in England, I went to Rallydesign to buy some stuff. I brought two helpers back home. They helped me setting toe-in/out and camber. It took me a good hour but I'm pleased with the result. The surface has to be absolutely clean and even and you have to repeat it several times. Eventually I will let a professional check what I did.
After that I made a small blat on my (Belgian) evaluation road which is riddled with ruts and bumps and awfully deep potholes. It drove like a charm and I'm very satisfied with this first setup.
Cheers.

Tuesday, June 4, 2013

Bumpsteer - corrected

Not completely set, but very near. I made a mistake while assembling the steering by mounting the track rod ends upside down. This resulted in heavy bumpsteer which made the car almost uncontrollable on bumps and ruts.
The photos show the effect this error has on toe-in/toe-out varying from top to bottom position of the suspension during a full travel.
After I mounted the track rod ends correctly, the change in toe-in/out is not visible anymore.
I tried to film it as well. I think it is clearly visible in comparison:
Film #1 - Bumpsteer
Film #2 - Bumpsteer corrected
In this case the effect is very heavy. Lesser bumpsteer can be set with shims to alter the steering rack's height. After this I re-mounted the shocks with the 275lbs/in springs and set the ride height to 5". Next time I'll try to set camber and toe-in/out.
Cheers.

Wednesday, May 29, 2013

Bump Steer

... or bumpsteer, arrrgh ... WHAT?
While chasing what possibly could make my car jump around on ruts, bumps and potholes like mad, I posted my questions in different forums, especially the german Seven-IG and the english WSCC-technical board. As always, the first answers get you more confused and you just feel dumb confronted with all that expertise. Then you start to read, ask more questions to those guys running theirs cars both on the road and the track.
The phenomenon is not easily explained, but I'll try. Imagine there is something wrong with your car's steering and/or suspension set-up. You drive around and you hit a pothole and the bumpsteer makes, like it says, that the car is steered in a different direction than your steering wheel points. As the affected wheel moves up and down, the wheel carrier moves in and out and steers the wheel. This is mostly due to a bad alignment of steering rack and wishbones.
Of course all this is far more complex and you could read your day (or week) away with expert literature. Two documents may catch your interest:
Doc 1
Doc 2
If you want more try the www or your nearest book shop.
Cheers.

Saturday, May 25, 2013

Die hard, die harder

The estimated springrate of 275lbs/in is way too hard. I ordered a pair with 200lbs/in, set the tire pressure right and did some test drives with different toe-in. It is still a very harsh ride, but I'm getting closer to a good setup. I still have to see a pro for the best adjustments. Ride height is quite close to the road with 8cm.
A touch of yellow in the rape fields.
Cheers.

Tuesday, May 21, 2013

Tank venting valve

One of the reasons of MoT failure was a fuel leakage. On the top of the tank, I put some teflon tape on the threads of the fuel return line connection and the tank venting valve. Additionally, I connected a small piece of hose to the latter and guided it into the rollcage. The lower connection where the fuel is picked from the pump can only be taped when the tank is empty. For now I gave one more spin to the screwcap. Maybe this is enough, else I will drive as much as I can to empty the tank.
Cheers.

Sunday, May 19, 2013

MoT (SNCT) - fail

The car didn't get approval from the technical authorities. The reasons are not severe. Two minor points not leading to failure, but mentioned on the report, are
- field of view (rock chips in wind screen)
- oil leakage ... also known as territory marking
The two important points are
- toe-in
- fuel leakage
The latter had been checked several times and I couldn't find any leakage. But then I filled the tank and drove the car and it showed that some of the connections on the tank are not consistent. I'll check that and will use some teflon tape to remedy.
Although I tried to set toe-in by myself, I didn't succeed. To be sure I will leave this job to a professional.
All in all the car is not very drivable concerning the suspension. It is very hard and follows every little bump and rut. Prior to set the toe-in, I will mount other springs with 200lbs/in rate. The oil temperature sender is dodgy as well and shows absurd values (46°C when cold, increasing up to 999°C).
Not yet finished, but close. Considering what else I changed on the car, I'm quite satisfied.
Cheers.

Tuesday, May 14, 2013

MoT postponed

More little works done since I had to postpone the MoT, awful weather ...
Next try will be on Saturday.
Cheers.

Sunday, May 12, 2013

Resurrection

First drive since 18 months ... strange feeling, but great relief. Tomorrow MoT. Fingers crossed.
Cheers.

Cycle wings

The carbon look doesn't match my car's style, I intend to paint them yellow eventually. The goal was to have them the nearest possible to the rubber. Therefore I had to bend the cycle wing stays. The old fashioned look with the rounded tops makes that there is a difference in height, the stays being designed for the modern look flat top wings.With Morgan in mind, I thought that a little bit of wood is ok for my car, so now the spacers are made of timber (painted black after the pics had been taken).
Hot air vent covered with some mesh to prevent inquisitive looks.
Overall appearance ok on photos, but still some work to do before it is completely finished (if ever).
Cheers.

Thursday, May 9, 2013

Toe in - toe out

Set the toe today, which is quite a lot of work if you have to adapt the parts prior to assembly and setup. First I had to cut the steering rack extensions. Those provided from Westfield with the wide track kit are a little bit too long, I cut three threads on every side. Then there is only one half nut delivered per side. To fix the extensions you need two. Starting from a full nut, I lathed two more.
Toe in toe out can now be set and after some driving controlled again and set anew if required. The graph shows what exactly this setting means. It is mostly responsible for the cars ability to corner. Toe out makes the car turn easier, toe in gives better straight on stability. The graph shows extreme settings, in reality we talk about 1 or 2 degrees.
The steering hub is covered with a bellow to prevent dust and dirt to enter.
Cheers.